How To Tie A Kimono Shirt?
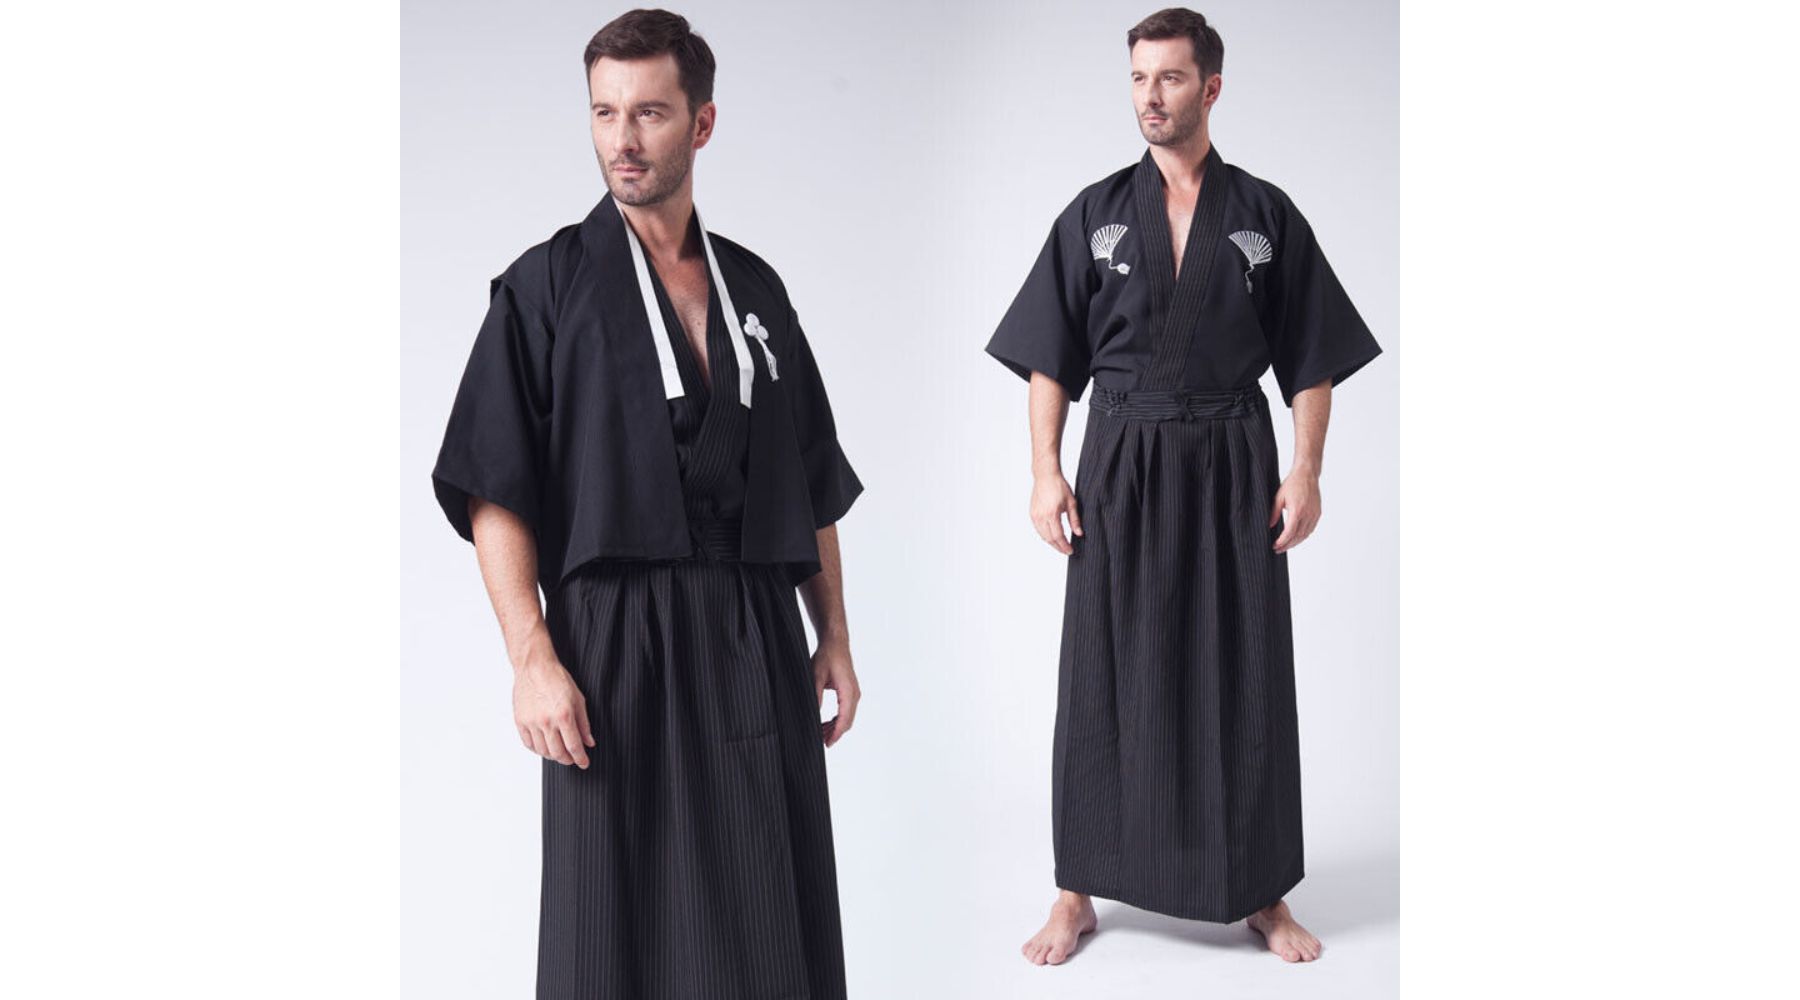
The cultural dress of the Japanese is the kimono. Both males and females use it. You can find brand-new and used kimonos easily in Japan. New and modern styles are also invented for wearing kimono shirts. But wearing the kimono shirt requires proper practice and knowledge. Because most people buy kimono shirts excitedly, but when they reach home, they need clarification about where to start. That’s why if you’re also a kimono shirt lover. Then, make sure to know the right way of how to tie a kimono shirt.
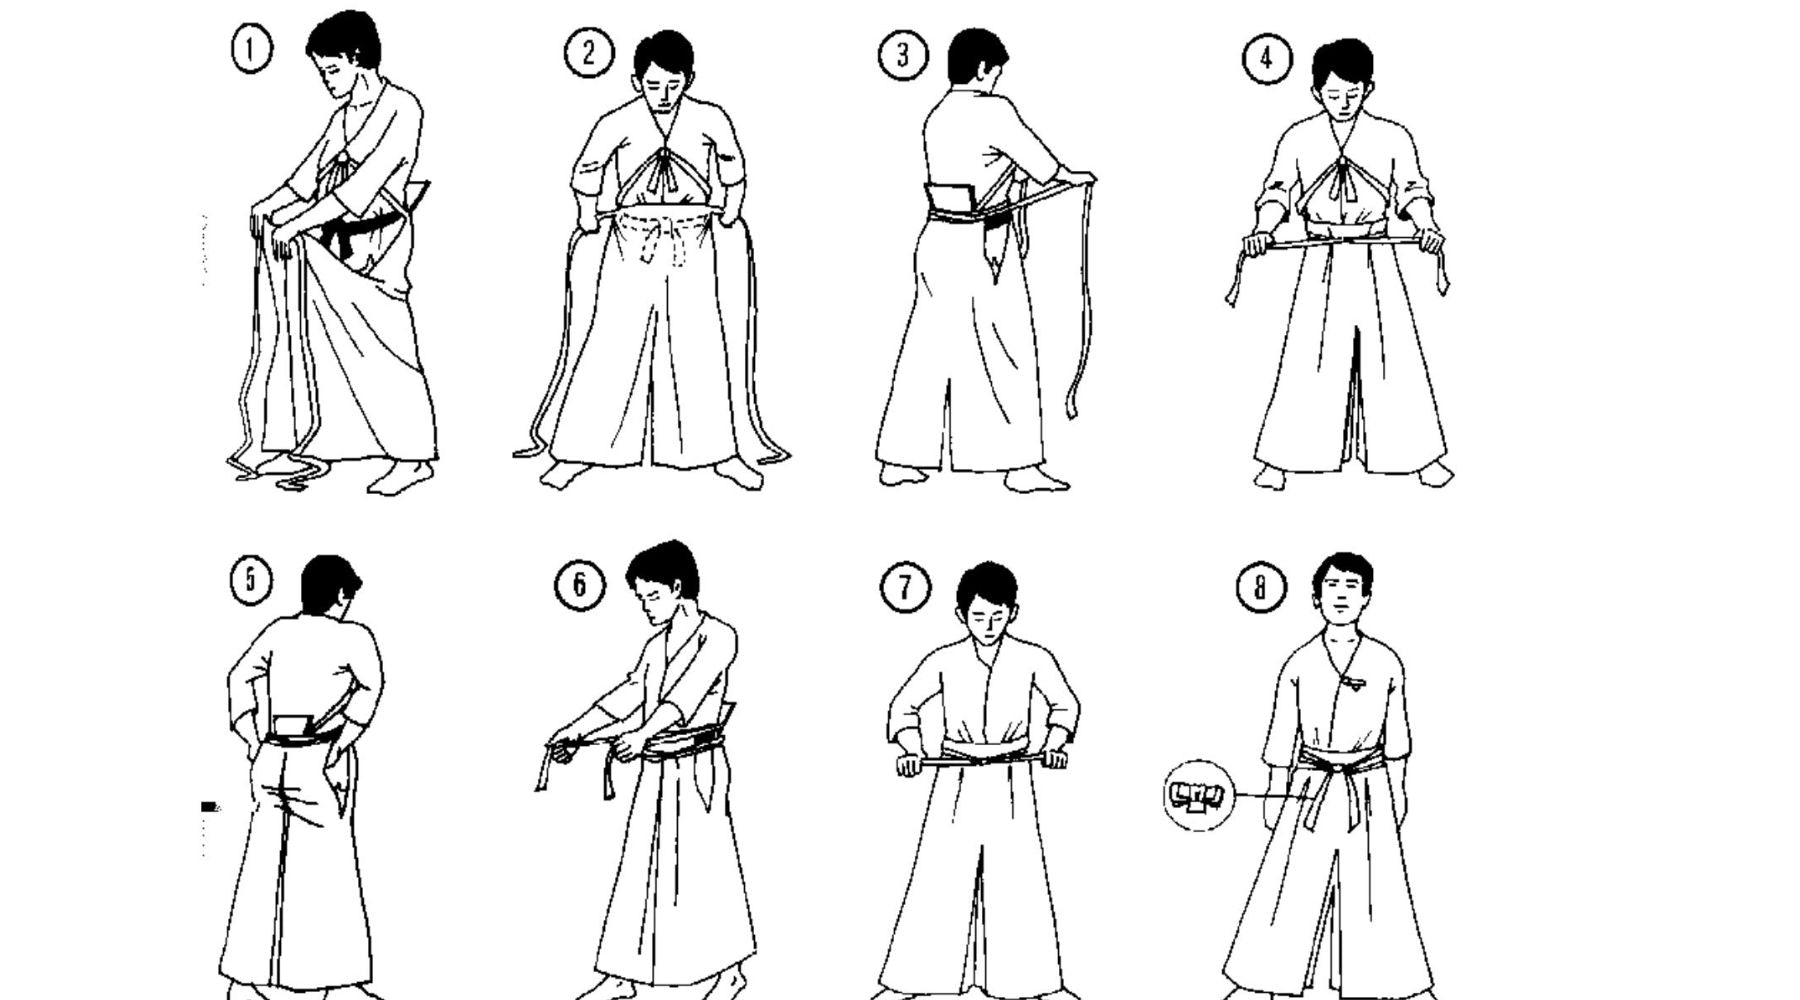
How To Tie A Kimono Shirt In Just 8 Simple Steps?
The following are the main steps you must follow to learn the right way of tying a kimono shirt.
Select A Kimono Shirt
The first step involves selecting the right kimono shirt according to the type of occasion you’re wearing it. Considering the event you’re wearing for and the kind of design you prefer also matters.
A Proper Base Under Kimono Shirt
The second step involves having a proper base that you can use under your kimono shirt. That means you should wear a form-fitting garment or shirt under the kimono shirt to ensure a well-fitted base. This provides a safe and secure base for your wearing.
Wear The Kimono Shirt
The third step is wearing the kimono shirt now. First, wear the sleeves and adjust the kimono shirt on the back and the collar. So you don’t feel uncomfortable after wearing it.
Fasten The Right Side Over The Left
According to Japanese customs, the fourth step involves wrapping the right side of the kimono shirt over the left side. Carefully cover it, and make sure it is fit around your body. Covering the left side over the right of the kimono shirt is considered insolent. Because this tradition is used for departed people.
Tying The Eri Himo
The fifth step involves tying the eri himo. These are the strings inside the kimono shirt. Carefully cross them first and then make a bow, but don’t tie it too tightly that might hurt you. Through this step, you can maintain the tightness of your kimono shirt.
Change The Length According To Occasions
The sixth step involves adjusting the length (kitake) of the kimono shirt according to your preference. But in Japanese tradition, the edge of the kimono shirt reaches the ankle. However, due to advanced and stylish methods, people now change the length of the kimono shirts according to their liking. It is vital to fold the extra fabric of the kimono shirt around your waist. You can choose how much extra material you want to fold according to the occasion you’re wearing. Or to create a special and unique appearance.
Use Obi Belt
The seventh step is optional and is up to you if you want to wear an obi. A Japanese belt used with the kimono shirt. You can wrap the belt around your waist to cover and adjust your kimono shirt, creating a balanced look.
Last Adjustments
The eighth step involves giving the final touches to your kimono shirt by checking it out in the mirror. And ensuring that everything looks perfect. If you need to adjust anything, do it again to create a powerful appearance.


Leave a comment
This site is protected by hCaptcha and the hCaptcha Privacy Policy and Terms of Service apply.